The Ultimate Guide to Setting Up Your Draper Screen Without Any Mistakes
Wiki Article
It is a great choice if you've bought a Draper projector screen! These screens are known for their strong build and clear picture quality. But to get the best experience, you must set it up correctly. One small mistake can mess up the image or cause problems later. Don't worry — we've made this guide easy to follow. Whether it's for your office, home, or classroom, you'll find simple tips here to help you get it right the first time.
Pick the Right Spot First
Before opening the box, decide where you want the Draper Projector Screen to go. Is the room too bright? Can people see the screen clearly from every seat? Make sure there's no sunlight hitting the screen directly. Also, check that there's enough space for the screen size you picked. Picking the wrong spot can lead to reflections, bad angles, or blocked views.
Measure Everything Twice
Don't guess. Use a measuring tape to mark where the screen will sit. Measure the height from the floor, the width across the wall, and the distance from the screen to the projector. It's better to measure twice than to drill holes in the wrong place. Take your time here — it saves you effort later.
Read the Manual Before You Start
We know manuals aren't fun. However, with Draper projector screens, the setup steps are written. Even if you've installed other screens before, don't skip this. Different models (like fixed-frame or motorized) have different steps. Reading the guide once will help you avoid small mistakes.
Use the Right Tools Only
Don't try to set up your Draper Projector Screen with random tools. Use a drill, level, pencil, screws, anchors, and a measuring tape. A level is essential to keep the screen straight. If your screen is a motorized model, make sure there's a nearby power socket. If you don't have the right tools, borrow or buy them. It makes a big difference.
Fix the Screen Frame Properly
If you're installing a fixed-frame Draper projector screen, tighten the frame fully. Loose parts can cause the screen fabric to sag or wrinkle. Make sure the corners are locked in. If your screen uses Velcro or snaps, press them firmly. The fabric should be smooth with no waves or bumps. A flat screen gives a sharp, clear picture.
Check the Wall Strength
This step is very important. Don't hang a heavy screen on a weak or hollow wall. If needed, use wall anchors or fix the screen into wooden studs. For bigger screens, you might need help from a handyman. Don't rush this part — a secure wall is key to keeping the screen in place for a long time.
Switch It On the Right Way (For Motorized Screens)
If your Draper projector screen has a motor, take it slow and steady. Plug it in properly, and then try using the remote or wall button to roll the screen down and back up. Watch how it moves. If it's smooth, you're good. But if it's shaky or making strange sounds, stop immediately and recheck the cables. One important point to remember is to never try to pull the screen by hand. Let the motor do its job.
Quick Check Before You're Done
Now that the screen is up, play a video or show an image to test it. Look at the edges — are they straight? Do you see any odd light or shadows? If something doesn't look right, tweak the projector a little. Also, give the screen a soft wipe using a clean cloth to remove dust or fingerprints. A clean screen makes the picture look a lot better.
Final Words
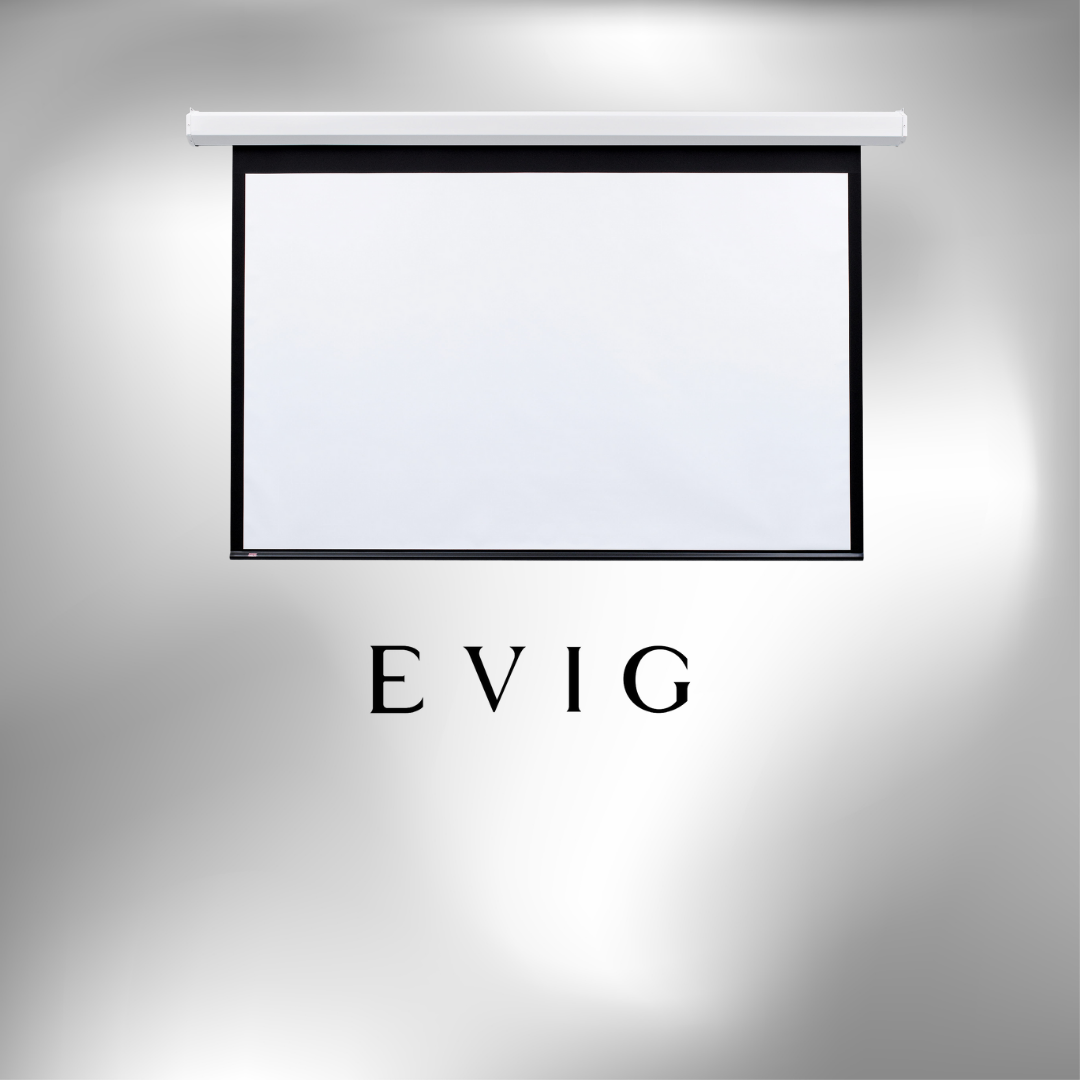
Setting up your Draper projector screen is pretty simple when you take it step by step. Don't rush; measure things properly, and stay calm throughout the process. And if you ever feel stuck or want expert help, Evig is an excellent name to remember. They're the top choice of AV integration companies in Dubai and the region's official Draper distributor.
Once you're done, sit back and enjoy — your Draper screen is ready to impress!